In the last post I showed you how you could use the panning technique to give your subject a sense of speed and make it stand out from the background. I hope I have given you enough time to experiment a bit with the effect before showing you the easy way: creating it in photoshop.
Let's take a look at how it works.
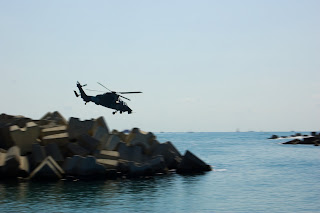
We'll take a picture where both the subject and the background are sharp, I've chosen this one:
With the scene so bright and the helicopter moving so, relatively, slow it was impossible to use a shutter speed slow enough to create motion blur. So I decided to recreate it on Photoshop.
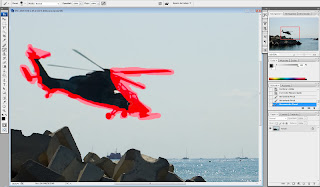
Firs thing you want to do is select your subject. I recommend going to quick mask mode (pressing Q) and then "painting" your subject with the brush.
Once you're done click Q to get out of quick mask mode and invert the selection. It's a good idea to copy the helicopter to a new layer.
Now all you have to do is select the background layer and go to filters->blur->motion blur
Now all you have to do is select the background layer and go to filters->blur->motion blur
Here you can select the direction and the amount of blur. The direction will have to be the same as the on of your subject and you can vary the amount if you want to make it more or less blurry , I used 30 pixels, but it will depend on your photo so try different values until you're satisfied.
And that's it now you can recreate the motion blur in your photos without having to use panning. My advice however is to try and make the panning effect straight out of the camera, it will look more realistic and most important it will be much more fun!


No comments:
Post a Comment