In my last article I gave you an introduction to the zoom effect on digital photography and showed you how to shoot it with your camera. This effect however is very difficult to master and can be recreated in photoshop with practically identical, or even better results. This is what we're going to learn today.
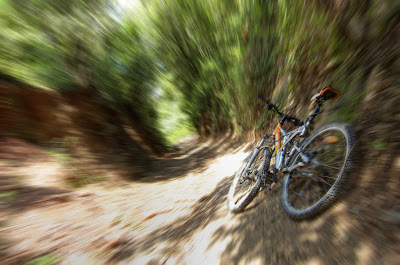
First of all choose a suitable picture. It can be anything with a subject you want to make stand out. I chose this picture of my bike standing aside a bike trail.
Now you only have to go to filters->blur->radial blur. Here you select the amount of blur, you have to select zoom and you have to select the center of the blur effect (this is the point you want to be in focus). Also I recommend setting the quality to optimal.
Now take a look at the image, if you're satisified with the result then that's it, if not you can try changing the amount and the center of the blur until you like the result.
Also there is a way of making your whole subject stay in focus. If you only follow the steps detailed above, you'll end up with only a small focused point. If you're subject is large however, it will probably be out of focus. But don't worry there is a very easy way to fix that. Select your subject and copy it to another layer, now apply the effect on the background layer and your subject will remain in perfect focus. To select the subject I recommend using quick mask mode (pressing Q) and then painting it all. Once you're done get out of quick mask mode (Q again) and invert the selecion. Now you only have to copy that selection to another layer and you'll have your subject isolated from the background.
Now when you apply the effect on the background, your subject won't be blurred since it's in a separated layer. This is what it will look like:
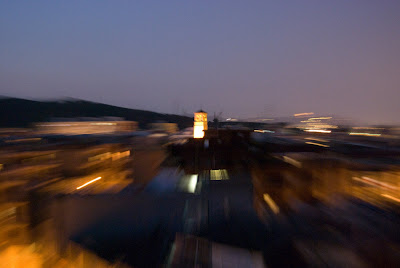
And that's how you fake zoom effect on photoshop! I hope you found this tutorial useful, also I let you another example here:


