Showing posts with label shutter speed. Show all posts

Tuesday, September 30, 2008

Faking panning on the pc


In the last post I showed you how you could use the panning technique to give your subject a sense of speed and make it stand out from the background. I hope I have given you enough time to experiment a bit with the effect before showing you the easy way: creating it in photoshop.

Let's take a look at how it works.

We'll take a picture where both the subject and the background are sharp, I've chosen this one:


With the scene so bright and the helicopter moving so, relatively, slow it was impossible to use a shutter speed slow enough to create motion blur. So I decided to recreate it on Photoshop.

Firs thing you want to do is select your subject. I recommend going to quick mask mode (pressing Q) and then "painting" your subject with the brush.

Once you're done click Q to get out of quick mask mode and invert the selection. It's a good idea to copy the helicopter to a new layer.
Now all you have to do is select the background layer and go to filters->blur->motion blur


Here you can select the direction and the amount of blur. The direction will have to be the same as the on of your subject and you can vary the amount if you want to make it more or less blurry , I used 30 pixels, but it will depend on your photo so try different values until you're satisfied.


And that's it now you can recreate the motion blur in your photos without having to use panning. My advice however is to try and make the panning effect straight out of the camera, it will look more realistic and most important it will be much more fun!

Tuesday, September 23, 2008

Panning


Some days ago we talked about how we could make our subject stand out using selective coloring. Today we're going to learn a technique that will make it stand out and give it a sense of speed. This technique is called Panning.

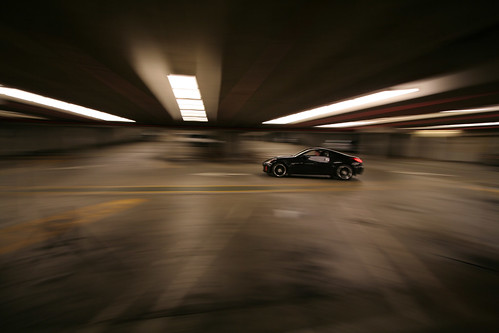
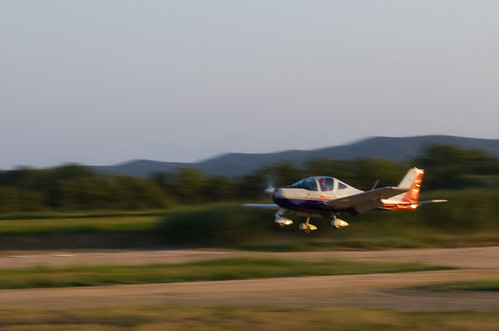
As you probably know when we shoot a moving subject with a slow shutter speed the subject will appear blurred on the picture. This is something you usually want to avoid, since you want your subject to be in sharp focus. The panning technique however, allows us to benefit from this effect by making the moving subject sharp and the background blurred. How does this technique work? This technique is very simple although it might require some practice. What you need to do is follow your subject with the camera, as long as the sutter is open. This will cause the subject to stay in the same position of the shot throughout the exposure, thus remaining sharp and will cause the background to have motion blur.

Only following the subject with your camera however won't cause the background to be blurred. First you have to make sure that there will be motion blur in your shot. To do that you have to set a slow shutter speed, I recommend using shutter speed priority mode. Setting the correct shutter speed is not easy, set it too low and you'll end up with an overall blurred shot because you won't be able to follow the subject precisely enough.


1/2--------------------------- 1/2

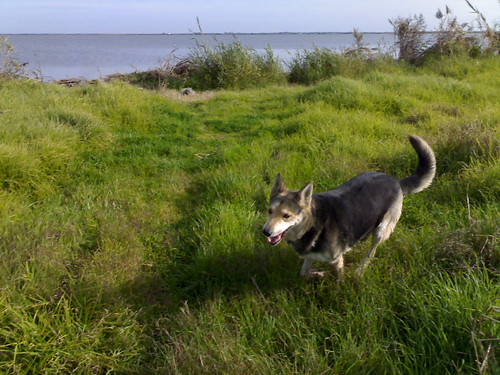
Set it too high and the whole image will be sharp, spoiling the speed effect.


1/495

I recommend using something from 1/6 to 1/60, but it will always depend on your subject's speed, proximity and your focal length.


1/60--------------------------------- 1/25

But setting the right shutter speed is not everything. You have to be able to follow the subject precisely, how do you do that? There is no perfect technique for that, you can use a tripod if the movement is completely horizontal, but I rarely have a tripod by me so I always do it handheld. What I recomemnd you is to start following the subject with your camera moving your whole upper body so that the movement is stable, when you feel you're moving at the same speed of your subject, click the shutter and keep moving with it until the shutter closes again, then stop moving. The most important thing of course is to keep the same speed as your subject while the shutter is open.

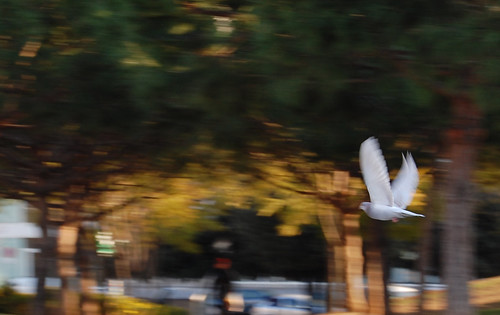
Cessna Pigeon

You can always use your flash together with the slow shutter speed to ensure you freeze your subject perfectly, but remember not to freeze the whole scene or the sense of movement will be spoiled. Also if you want to have more probablities of success use the burst mode of your camera and keep shooting as long as you can follow the subject.

And that's all I can teach you about panning, if you want to learn more go outside and practice, practice a lot, that's the only way to get this technique right!

PS: I'll write an article soon about how to fake this effect in photoshop, but don't rely on it, keep practicing, it's nicer and much more fun!

Photos by me and ttstam

Wednesday, September 3, 2008

Mastering the Basics: The Exposure Triangle

Before we go into more advanced aspects we have to master the basic aspects of photography. The first concept to understand is the exposure triangle.

The exposure triangle is a representation of the 3 settings that will determine how much light reaches the camera sensor.

It consists of three elements.

ISO: The sensor's sensitivity to the light
Shutter Speed: The amount of time the sensor is exposed to light.
Aperture: The size of the opening in the lens that lets light in.

An easy way to understand this is to imagine a hosepipe: The aperture is the width of the pipe, the shutter speed is the time the pipe is open and the ISO setting is the pressure.

As you can imagine from the example above, there are several possible combinations that will let in the same amount of light, like for example increasing the shutter speed and then compensating that by decreasing the ISO setting, something common for night shots.

When we use the auto mode of our camera, it will automatically chose a combination to let the correct amount of light in, but while the amount of light will probably be correct, the combination used may not be the best one to get the results we expected from the shot. This happens because each of the combinations has its advantages and disadvantages that will depend on how and what we're shooting. If we want to be able to chose the combination of settings ourselves we will have to take a look in greater depth to each of the three settings: ISO, shutter speed and aperture, which we will do in the three upcoming articles.