 Now that we know the effects that every setting has on our image, we're going to learn how to tweak those settings in our camera's menu. It is possible that your camera has a different menu system but usually all DSLRs have the options I'm going to talk about.
Auto: Not much to say about this mode. It is fast and useful for the times where you just haven't got the time to think about the settings. The camera makes all the decisions about the exposure and even the metering modes, but now that we've learned how to use every of those settings, we want to have control over them, right?
P mode: This one is similar to auto mode, you set the ISO and the camera will automatically set the shutter speed and aperture for the shot. Also P mode allows you to control the metering modes, something we will talk about in future articles
Shutter Speed priority: This is were we start to take control of the settings, this mode will allow us to set the shutter speed and ISO we want and the camera will adjust the aperture to match the available light. Very useful for taking action shots or for playing with motion like we saw in the article about Shutter speed.


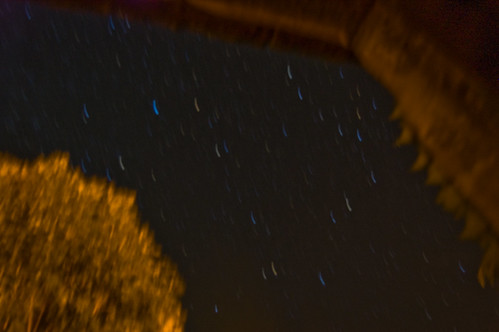
Manual: This is the mode, where you control everything. ISO, shutter speed, aperture, metering modes, white balance... .This might sound like it's the ultimate mode to use once you understand every setting, but in my opinion this mode makes it too difficult to get a correctly exposed shot, since it will be you that will have to tweak every setting until you get the correct amount of light. There are moments though where this mode will be the only option, like when you want to use the bulb mode of your camera. This mode allows you to have the shutter open for as long as you want and can be helpful for making very long exposures, like in star trail shots.
So, you will be asking yourself, which mode should I use?
The answer to this question depends on your skills and the situation you're in, as i said before you can use auto mode if you want to take a photograph quick without losing time on adjusting the settings, but the rest of the modes will give you more control over the shot.
I personally find myself shooting usually with P mode that allows me to control the ISO so that the camera doesn't accidentally bump it too high ruining the shot because of the noise. When i want to use some of the exposure settings creatively I just go into aperture or shutter speed priority mode, since they're much easier to use and will give you identical results to the manual mode.
Sometimes you'll just need to use the manual because the camera won't be able to get the shot exposed like you want. Don't be afraid of using it now that you know what every setting does, do keep in mind though that it will probably take some time to get the shot properly exposed. But hey you're doing this just for fun right? Just take your time and enjoy experimenting!
No comments:
Post a Comment